

In October 2020 Ubuntu released a desktop version (20.10) specifically for the Raspberry Pi 4 arm64-based computer. Since Ubuntu is one of the most popular operating system for Bismuth nodes, and since the Rasberry Pi 4 has a total of 4Gb RAM, it should be possible to run a Bismuth node on it. This article describes the process of how to set up a Bismuth node on a Raspberry Pi 4 running Ubuntu desktop version 20.10.
The first step when you receive a new Raspberry Pi 4 is to flash the SD card for it with Ubuntu 20.10. The SD card should be at least of size 32Gb, since the blockchain ledger takes up some space. The new V2 node of Bismuth soon to be released has a much reduced ledger size, so 32Gb should be sufficient with Bismuth for quite some time.
The Ubuntu images for the Raspberry Pi are available here: https://ubuntu.com/download/raspberry-pi
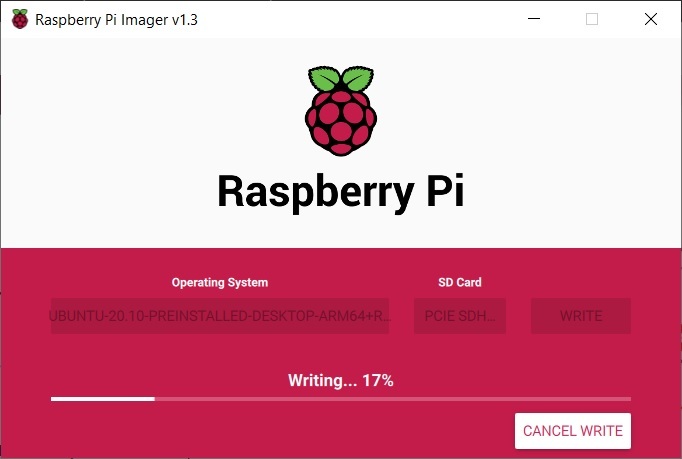
Once you have downloaded the image, you also need an imager program to write the image to the SD card. The imagers can be found here: https://www.raspberrypi.org/%20downloads/ The screenshot above shows the Raspberry Pi Imager v1.3 running under Windows 10.
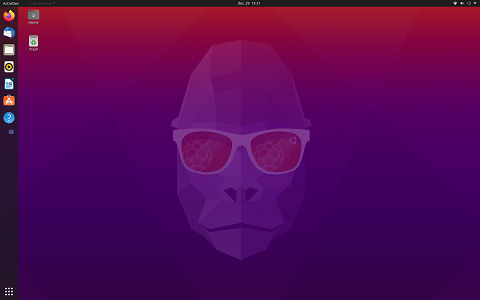
Once your Raspberry Pi 4 has been booted up with Ubuntu 20.10 desktop (Groovy Gorilla) and you have logged in, you should see the desktop shown above. Notice the raspberry image in the sunglasses of the gorilla 🙂
If you run the “free -h” command in a terminal window, you can check the amount of available RAM:
free -h
              total        used        free      shared  buff/cache   available
Mem:          3,7Gi       787Mi       2,1Gi       137Mi       772Mi       2,7Gi
Swap:         1,0Gi          0B       1,0Gi
3.7Gb available RAM and 1.0Gb Swap should be plenty to run a Bismuth node. The important parameter for Bismuth is the amount of free RAM, in this example that number is 2.1Gb.
Ubuntu 20.10 comes with a Python3 version pre-installed which is compatible with Bismuth. To check the version type:
python3 --version
Python 3.8.6
Before installing the Bismuth node, it is probably a good thing to make sure that your operating system is up to date. First, connect to wifi or a cabled network, and run:
sudo apt-get update
sudo apt-get upgrade
From here onwards, running Bismuth on a Raspberry Pi is similar to any other Linux node. The following commands can be used to get a node up and running:
sudo apt-get install git
git clone https://github.com/Bismuthfoundation/Bismuth.git
cd Bismuth
sudo apt-get install python3-pip
pip3 install -r requirements-node.txt
python3 node.py
When starting a node for the first time, a new wallet will be created storing your private and public keys. These are stored in the file wallet.der. The first time you run a node on a new computer, it will also take much longer than later runs. The node has to create the 1Gb large Junction Noise file heavy3a.bin which is used by Bismuth’s mining algorithm. Creating this file took 5 minutes and the CPU load was close to 100% during this process (check with the “top” command) when this article was written. After the Junction Noise file has been created, the node also has to download a bootstrap ledger from the network. At the time of writing the size of the compressed Bootstrap ledger is about 3.7 Gb, which can also take some time to download depending on your internet connection. Finally, after the bootstrap, the node has to sync with the rest of the network to get to the latest block height. When this article was written, the message which indicated that the node reached the consensus block height was:
2020-12-29 15:52:17,328 Status: Last block 2021101 was generated 0.71 minutes agoFrom when the node was started to when consensus height was achieved took a total of 30 minutes when this article was written, using a cabled network connection and not wifi which seems quite a bit slower. If you plan to use the Raspberry Pi as an IOT (Internet-of-Things) device with only a wifi connection, it probably is a good idea to sync the node the first time using a cabled connection. When the node is fully synced, the bandwidth requirements are much less, and wifi will probably be sufficient.
If, for some reason, you need to stop the node, the clean way to do so is (in a separate terminal window):
cd ~/Bismuth
python3 commands.py stop
Don’t stop the node with CTRL+C, as the ledger can become corrupted. The clean way to restart the node is:
cd ~/Bismuth
python3 node.py
A restart of the node only takes a few seconds on the Raspberry Pi-4.
After the node is synced and up and running, there is still free, unused RAM on it.
free -h
              total        used        free      shared  buff/cache   available
Mem:          3,7Gi       763Mi       370Mi       150Mi       2,5Gi       2,7Gi
Swap:         1,0Gi       1,0Mi       1,0Gi
This article has demonstrated that the arm64-based Raspberry Pi 4 Model B is more than powerful enough to run a full Bismuth blockchain node on it. Why is this information significant? In the future it is expected that the number of devices connected to the Internet will increase significantly, from anything like your fridge to your washing machine, to outdoor temperature sensors to garage door openers. Having the ability to run a blockchain on a low-end device like a Raspberry Pi opens up many possibilities in a world of IOT. Bismuth’s philosophy and ambition is to become the “LEGO” of blockchains, or to provide the building blocks for creation of distributed applications, so-called dApps. With a combination of a Python-based blockchain running on a Raspberry Pi the only limitations are in your own imagination.
Reading-material and References for developers: